Firstly let's set-up the Watchguard XTM Firebox:
In this example I am going to use the software management system rather than the browser but either will suffice if you stick to the correct encryption and key properties.
Start your policy manager by logging into your Firewall and selecting Policy Manager. Then click on the Branch Office Gateways option from the menu so that you are presented with the following:
Click the 'add' button to open the Gateways properties box to enter the details:
In the above example we are using a shared key. Once entered (this must be identical to the shared key we are to enter in the DrayTek) click the 'add' button bottom right to enter the gateway endpoint:
In this example the external IP of the Watchguard is 65.65.65.65 and the DrayTek is 75.75.75.75 so we enter the relevant IPs and choose the external interface that we are using on the Firebox (the interface with the external IP we are entering in this box for the Firebox)
Say OK to close this dialog box
When back to the last box, click on the Phase 1 tab at the top to see the below where we configure the Phase 1 settings for our encryption:
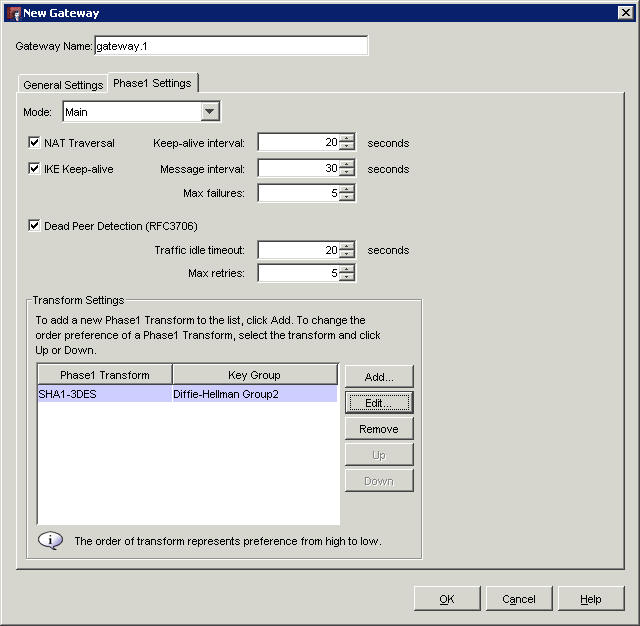
We shall tick the boxes for IKE keep alive and dead peer detection and then click 'Edit' at the bottom to edit the encryption choices:
I am using the American Encryption Standard on an 8 hour time out but feel free to choose anything you like as long as you take note to make sure it is the same on the DrayTek.
Click OK to close the box and OK again to return us back to the Policy Manager screen
Once back to the Policy Admin screen click on the VPN menu and choose Branch Office Tunnels:
Click the 'add' button to create the IPSec tunnel:
Click the 'add' button to configure the tunnel:
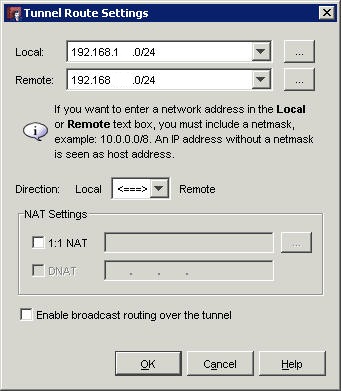
Here we are adding the internal IPs for the local and remote domains. In this example we are using 192.168.x.x subnets and so we enter the local Firebox subnet and the remote DrayTek subnet with the /24 255.255.255.0 Class C subnet. Click OK to close.
Now choose the Phase 2 tab at the top of the last screen:
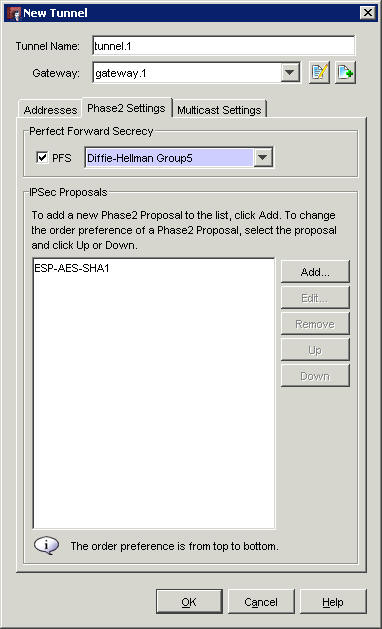
Tick the PFS (Perfect forward Secret) box and choose Group 5 as this is what we configure on the DrayTek.
In the above I have not altered the ESP-AES-SHA1 IPSec proposal as it is the one I wish to use but you may add a custom one if you choose.
Click OK to return to the other screen
Click close on the tunnel screen to return to policy manager and save the settings to the Firebox.
Now we will configure the DrayTek 2830 / 2830v2:
Log in to the web interface to begin:
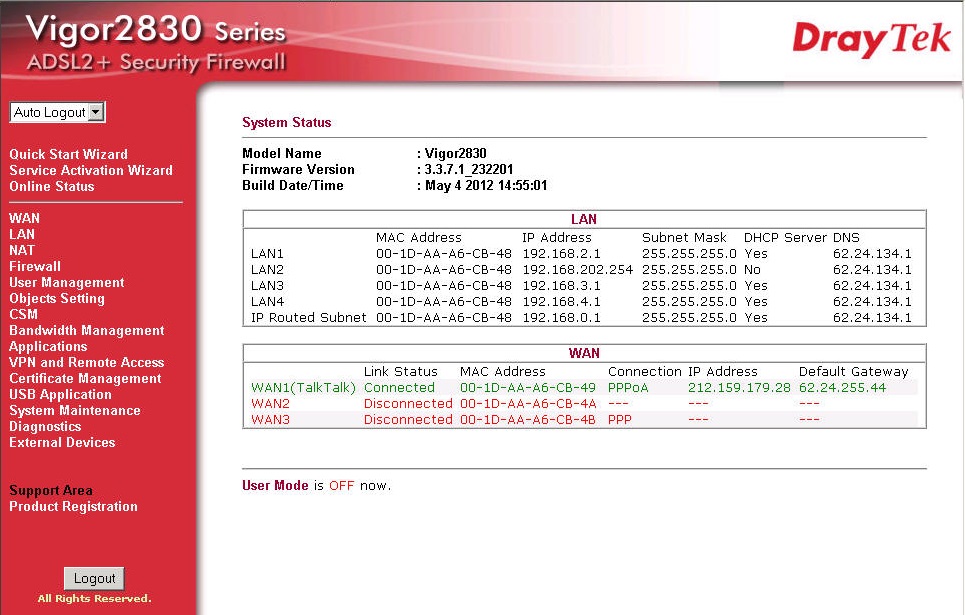
Under the VPN section on the left, click on the LAN to LAN settings option:
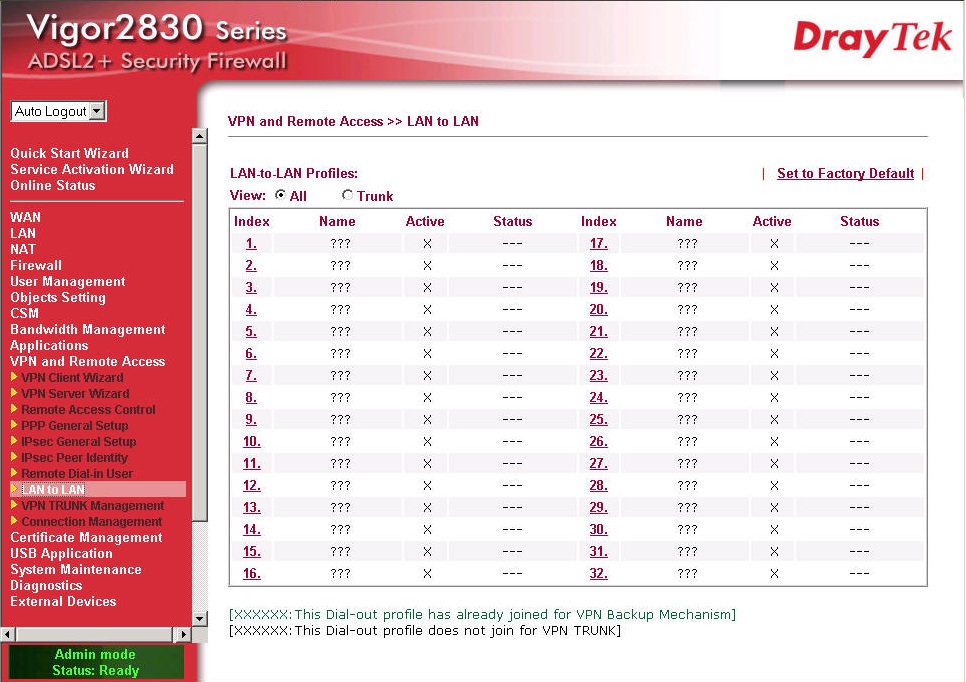
Click on the 1 hyperlink to open the LAN-to-LAN dialog:
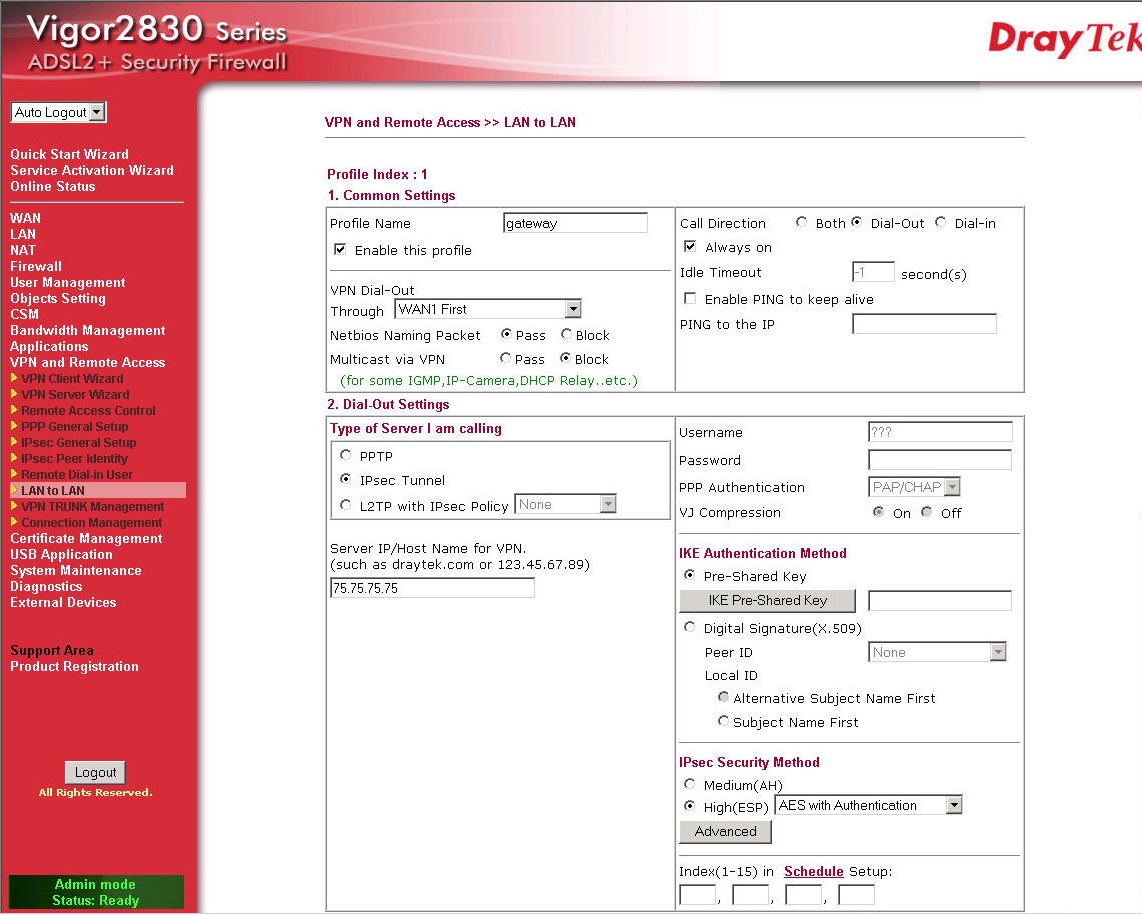
In the above I have ticked the enable box, ticked the always on box and chosen to accept NetBIOS traffic as it will be a Windows network. You will also need to click on the IKE Pre-shared key and enter the same key you entered into the Firebox. Now choose AES with authentication under IPSec and click on the 'advanced' button:
Choose the above options noting that we are matching the settings on the Firebox with an 8 hour timeout (28800 seconds) with AES 256 bit encryption VPN
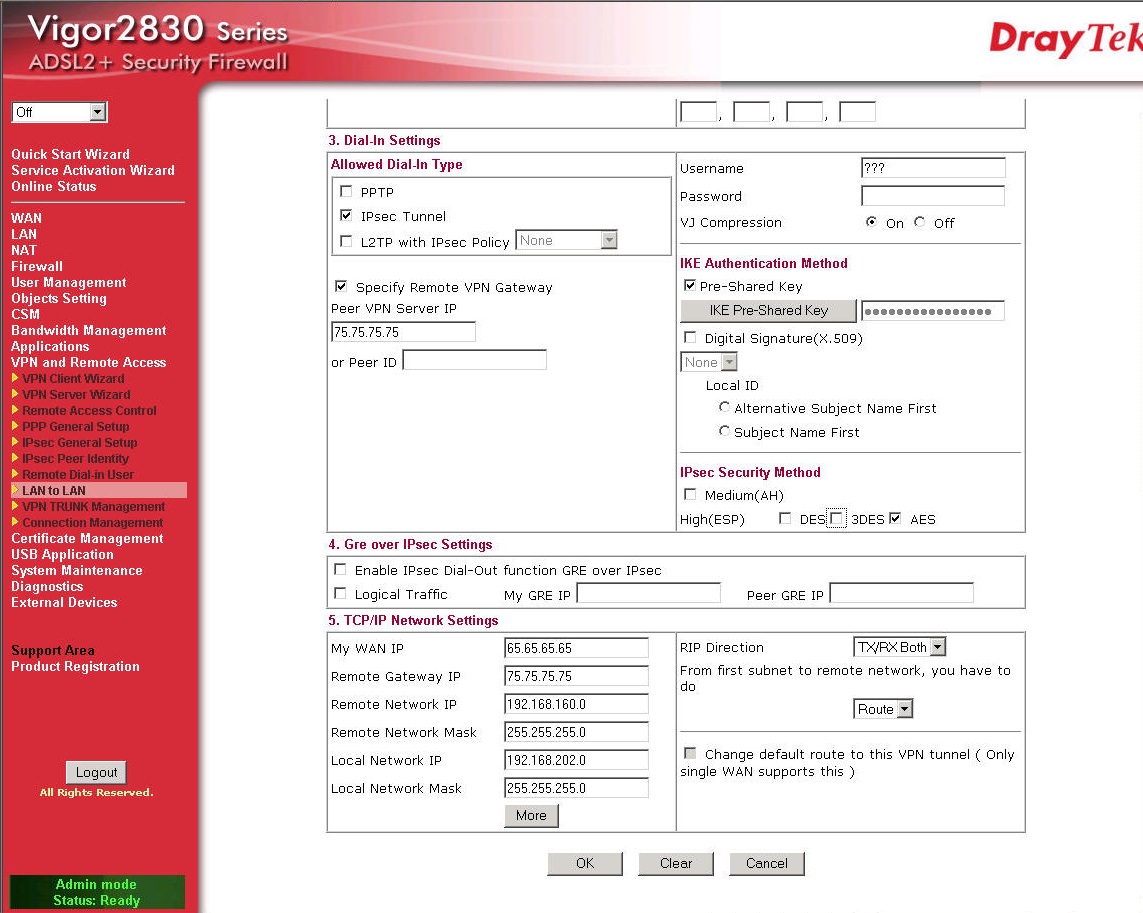
Choose IPSec as your tunnel type as you did on the top half of the screen and tick the 'specify remote VPN gateway' as in this case our Watchguard has a static address. We add the static address of the Watchguard WAN.
Also click the IKE pre-shared key button and enter the key again. Now enter the local and remote WAN and LAN
Once all the values have been entered you can say OK and the always on VPN should pickup immediately:
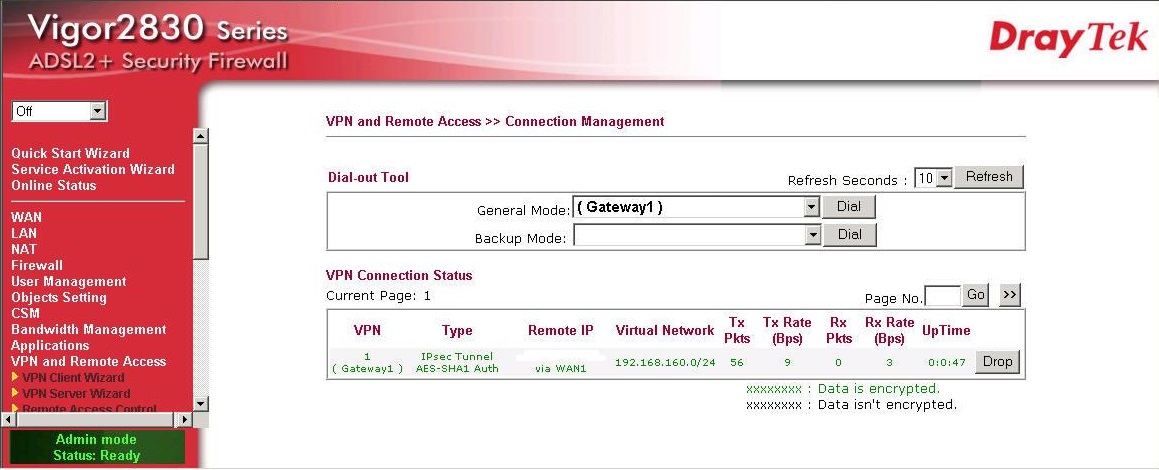
The VPN comes up as an AES 256-bit tunnel and we can see if we ping from the Watchguard side of the VPN:
And on the system manager:
Watchguard XTM26 to DraytTek Vigor 2830 IPSec VPN
Buy DrayTek Vigor VPN routers here