Connecting Mac OS X or iOS to a DrayTek Vigor 3910

This is a very similar process to the 2962, as the OS on the 3910, rather disappointingly, is actually just the DrayOS rather than the excellent Linux systems on the 2960 and 3900.
This means that the interface is more akin to the smaller, SME type routers rather than exhibiting the awesome VLAN-VLAN VPN systems etc. that the 3900 is capable of. As far as we can see, it just doesn't work on the 3910 anymore.
Anyway to start off the VPN configuration, we need to set the dial-in user IPSec PSK (Pre-Shared Secret) so let's log in to the router: 
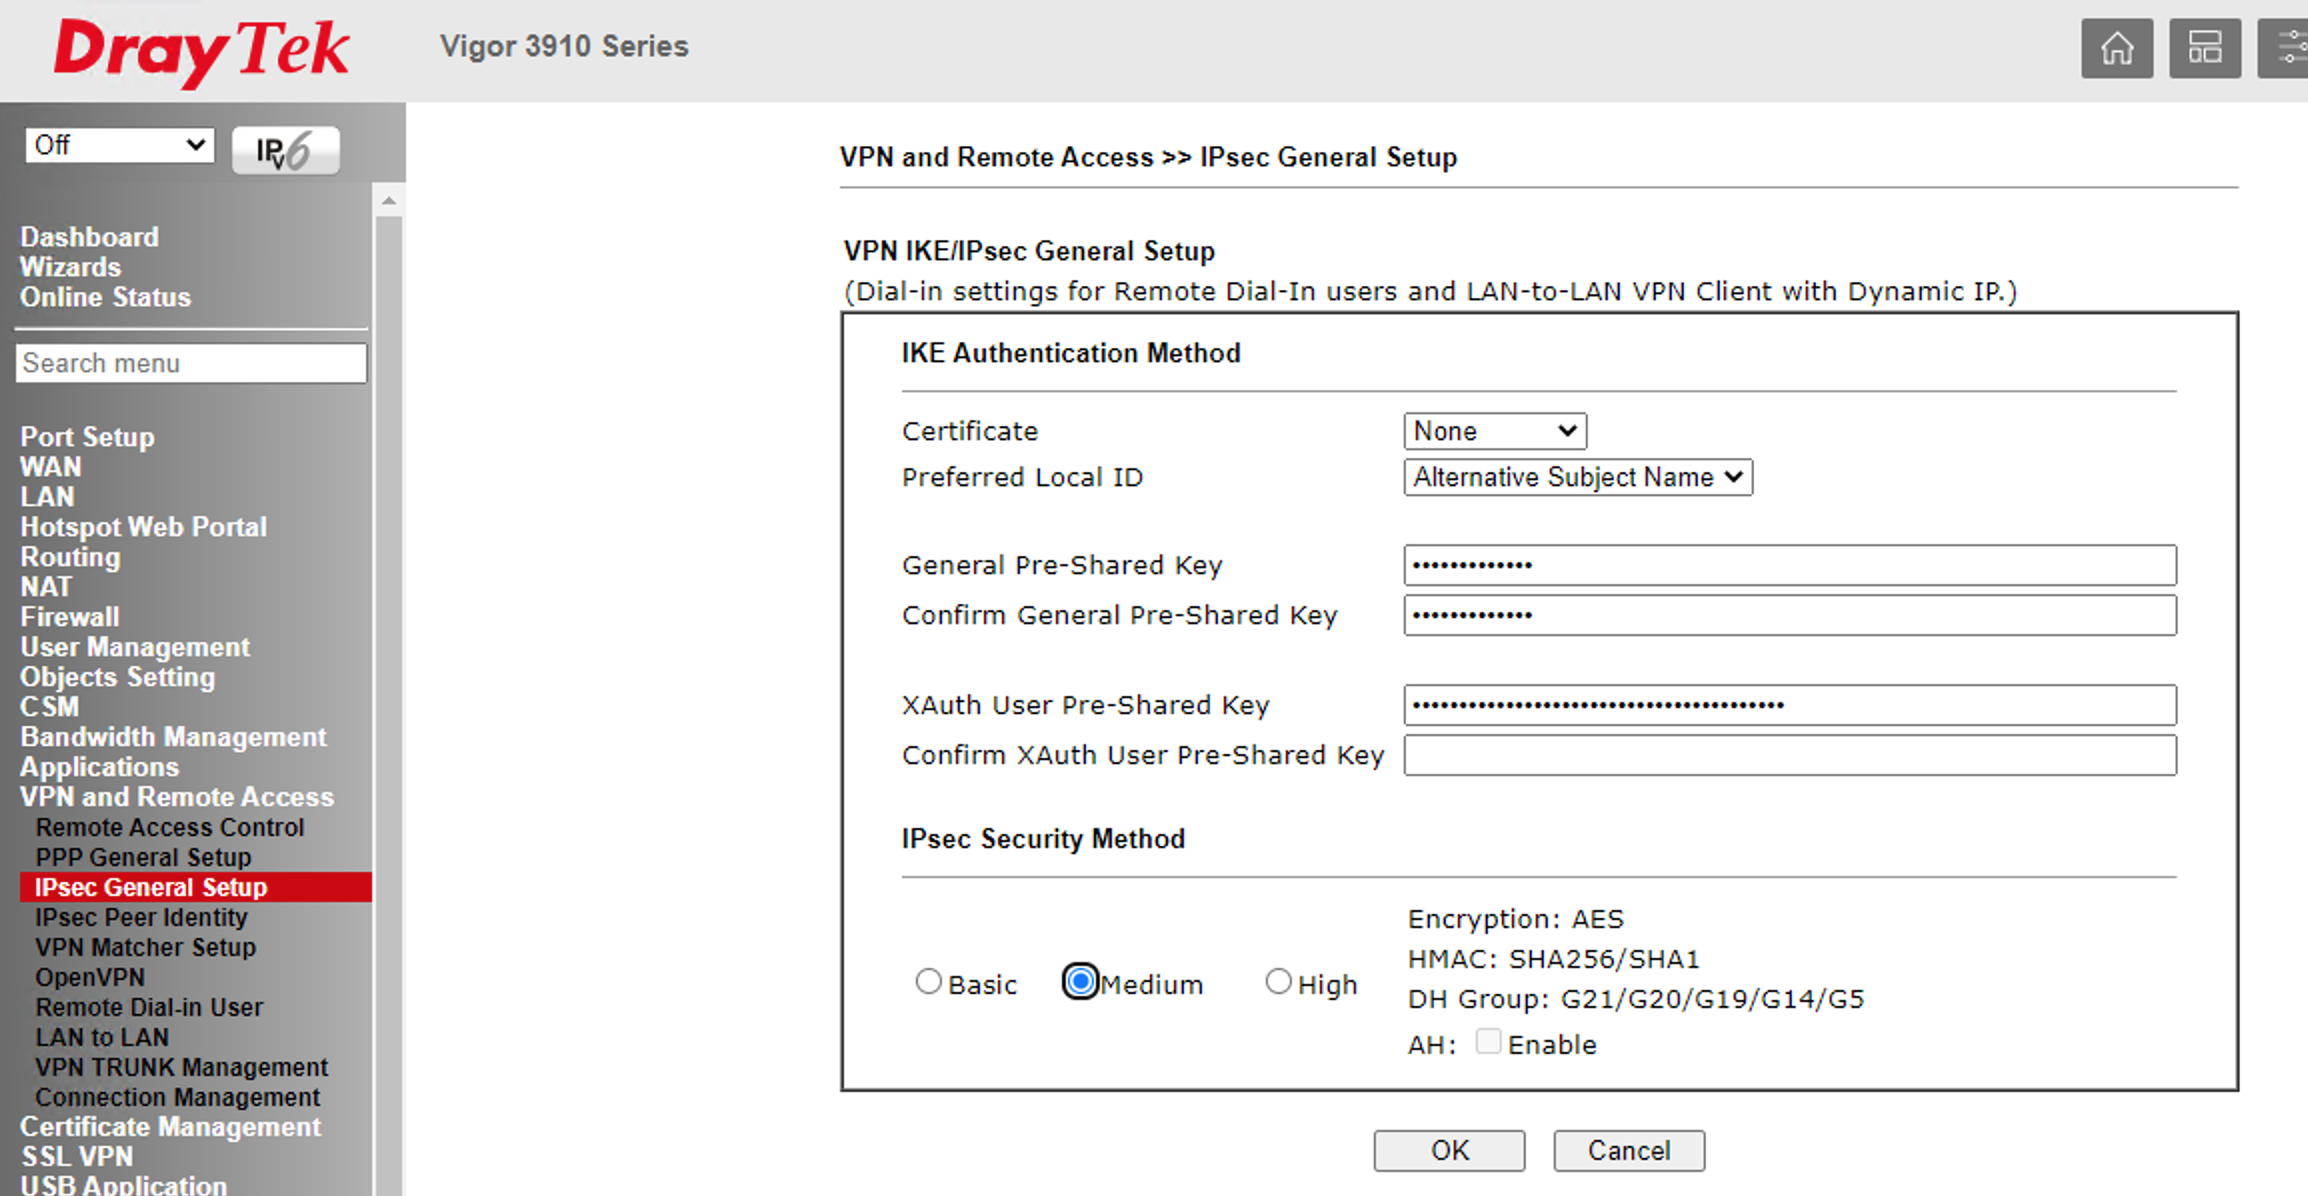
Now we need to proceed to VPN and Remote Access > IPSec General Set-up. The shared secret needs to be input into the General Pre-Shared Key box and confirmed in the box just below.

For modern Macs/iOS it is best to select the medium option for encryption/IPSec security method as below:
Now we need to set the user credentials. Go to the Remote Dial-In User page and click one of the numbers to enter the user's credentials:
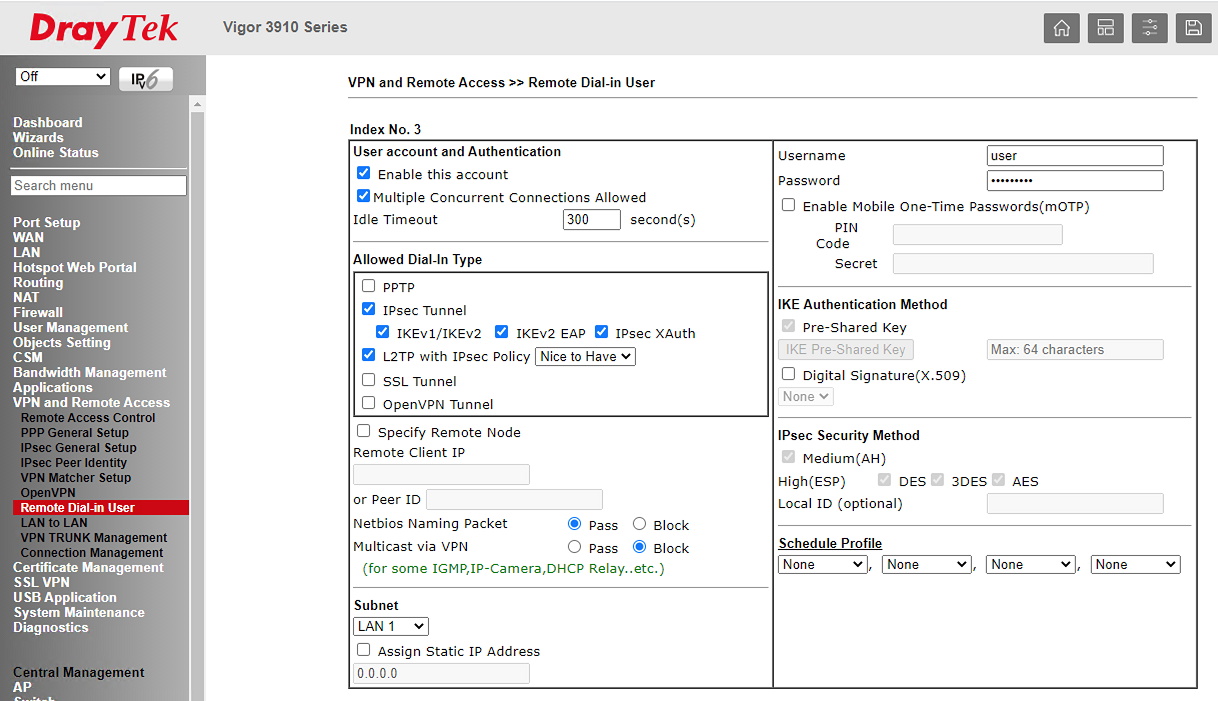
Make sure you choose the L2TP as the dial-in type. I am leaving IPSec ticked also as we use this type of dial-in with other machines.
The IPSec option is set to Nice to have as this invariably gives IPSec encryption; the 3910 has a custom encryption chip for VPN, and so is unlikely to be incapable of providing IPSec. In the above example the router is providing the DHCP but if you are using the DHCP from an internal server, you may have to configure the DHCP relay option under LAN>General Set-up>Details Page to get the IP address assigned to the user.
Now we can configure the Mac OS X VPN or iOS VPN:
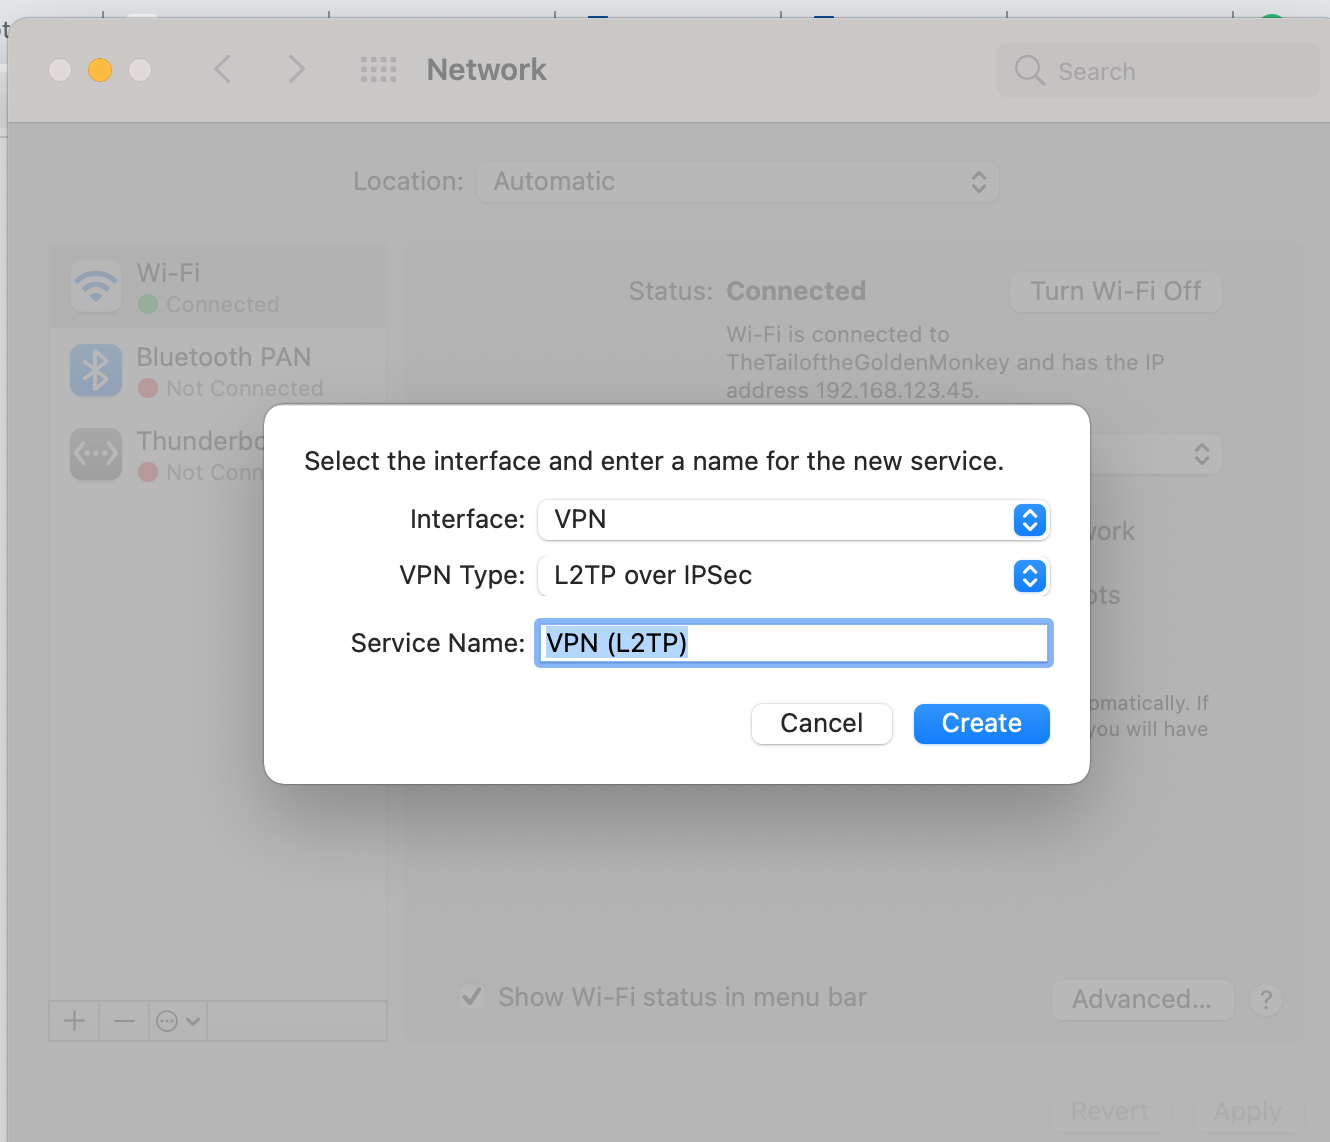
From System Preferences we choose Network and click the + sign to add a network. We choose VPN as above and then L2TP over IPSec as the type.
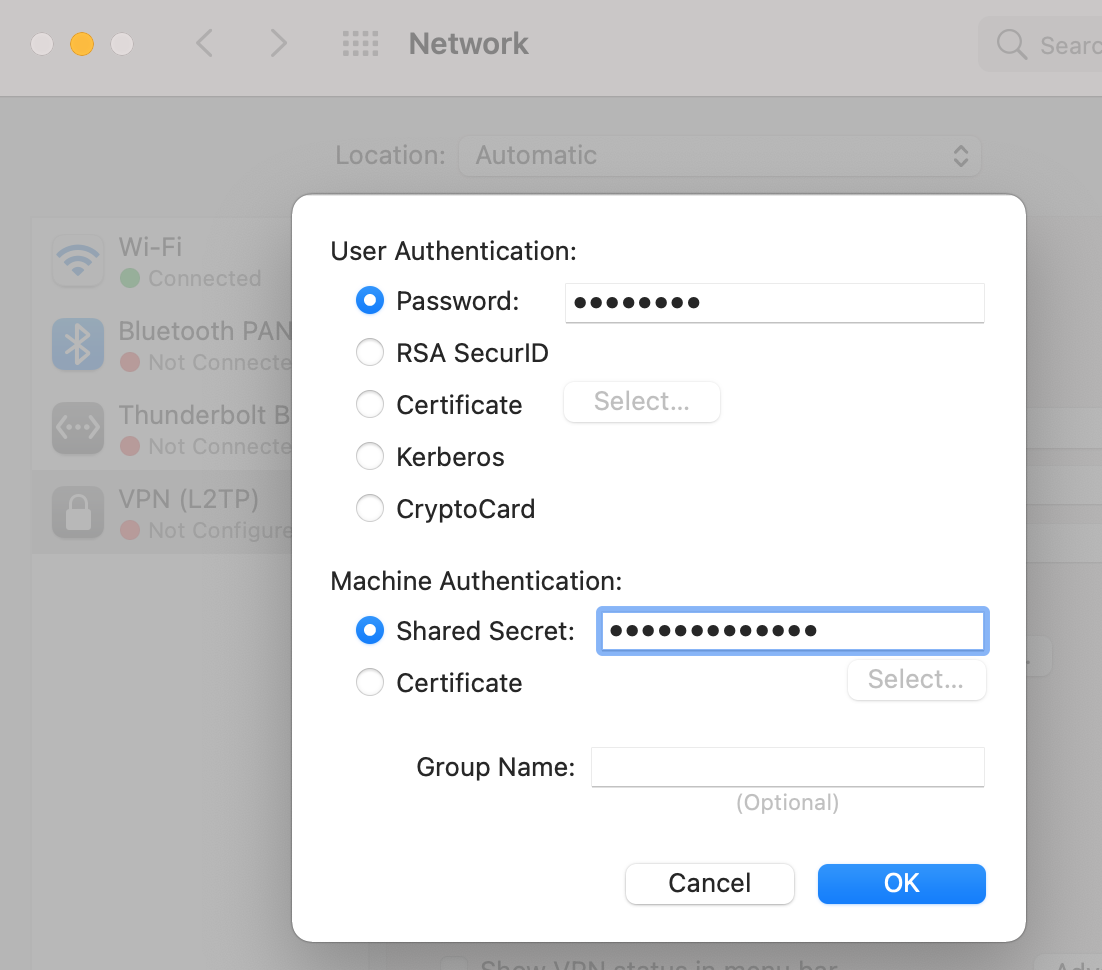
Here we need to provide both the shared secret and password as configured on the router. When we have supplied the correct details, we can apply and click connect.
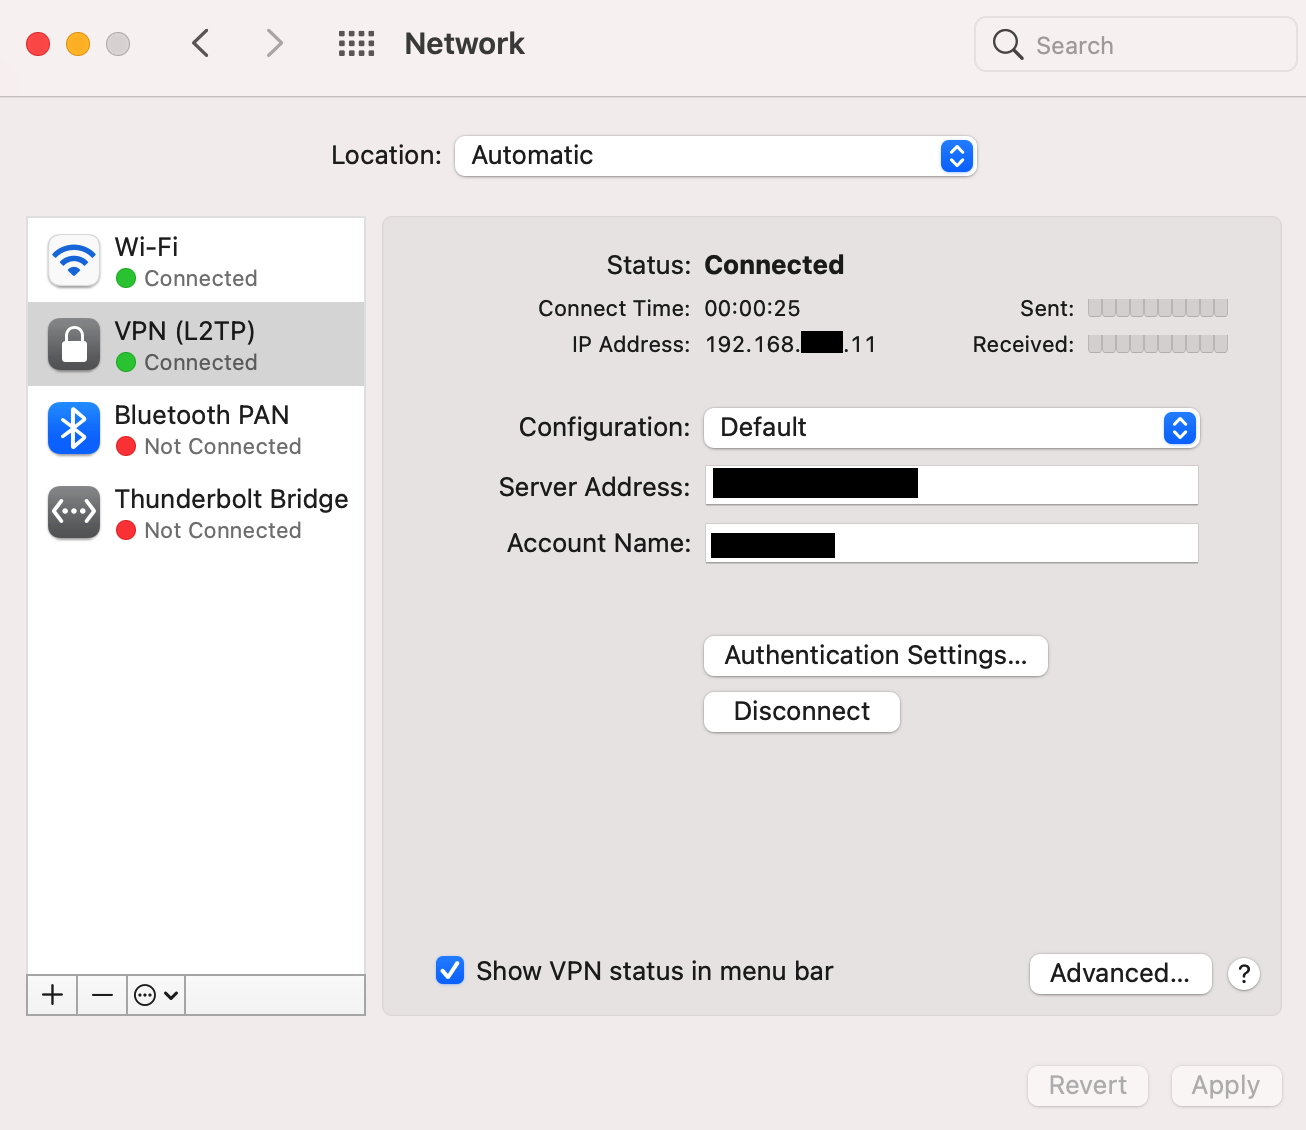
The VPN should now connect and supply an internal IP address as in the above screen.